All Categories
Featured
Table of Contents
The Ultimate Guide To Infrared Heaters Outdoor Archives
A tiny number of exterior heating units are fitted with incorporated home heating controls, such as a heat dimmer switch or a dial to switch between heat settings. Despite their name, these heating systems are commonly created solely for usage in interior or protected areas.

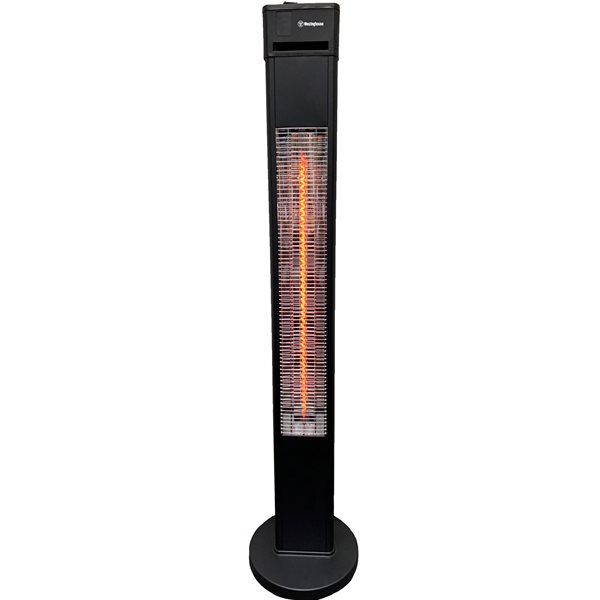
Take pleasure in pleasant outside enjoyable all year long from a crisp autumn evening to the chilliest of winter months evenings. Despite just how large or small your exterior entertaining area we've obtained the ideal exterior area heating system to maintain your visitors toasty cozy as well as keep the party going much longer.
For wall surface mounting, the most affordable part of the heater have to be located at or over a minimal elevation of 1. 8m from ground level, to make sure that the heating unit can not be touched when in procedure. Always install flat and do not place the heating system at an angle of even more than 90 and much less than 45 The heating system ought to always have a minimum clearance of 0.
The Definitive Guide for Radiant Heaters

The heating system needs to be installed on the mounting brackets given. Attach the heating unit safely on the brackets utilizing the nuts as well as bolts supplied. The braces can be utilized to change the direction of the heating system. Change the heater angle by loosening the 2 bolts on the wall surface mounting brace. Tighten the screws again when the preferred angle is reached.
Table of Contents
Latest Posts
What Are The Top 10 The 5 Best Electric Grills Of 2023, Tested And Reviewed? in 2022
The 15-Second Trick For Outdoor Heaters - Amazon.com.au
All about Best Wall Mounted Patio Heaters - Don't Let The Cold Stop
More
Latest Posts
What Are The Top 10 The 5 Best Electric Grills Of 2023, Tested And Reviewed? in 2022
The 15-Second Trick For Outdoor Heaters - Amazon.com.au
All about Best Wall Mounted Patio Heaters - Don't Let The Cold Stop